Form Builder (v2)
Contents
Form Overview Page
In the Form Overview page you can:- View Form Responses
- Preview Forms
- Edit Forms
- Delete Forms
- Search Forms
- Add a New Form
Navigation
Navigate by selecting the number of forms to display in the top left of the Form page or navigate by selecting either the page number, Previous/Next or First/Last buttons in the bottom right.
Preview a Form
Preview a Form before or after making changes by selecting the Preview button, which will take you to that Form’s page on your website.
Edit a Form
To Edit a Form, locate the Form you wish to edit and select the Edit button.
Delete a Form
To Delete a Form, locate the form you wish to delete and select the Delete button. A pop up will appear, asking if you're sure that you would like to permanently delete this form. Press Delete if you are sure or select Cancel if you change your mind.
- You can also Disable a Form, which is located in the Form Settings.
Search/Filter
In the search bar, begin typing the Form you wish to find. The forms will automatically filter while you type.
To see all Forms again, select the Clear Filter button.
Add New Form
To Add a New Form, select the Add New Form button in the top right corner of the Forms overview page. You can also select New Blank Form or create a New Contact Form in the left hand navigation.
Creating a New Form
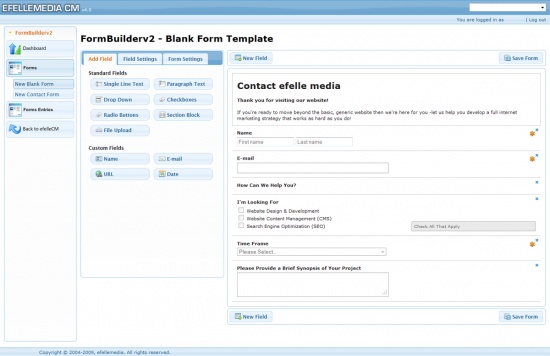
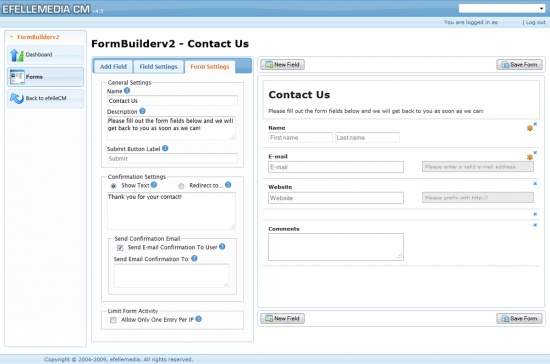
Build a New Form by selecting various Standard and Custom fields you want for your form. The selected fields will begin to populate in the New Form Area on the right.
Once all fields are added, click the Save Form button if you do not intend to make further changes.
- Be sure to update Form Settings before saving your New Form.
Sort Fields
To change the order of the added Fields in the Form, simply drag and drop selected Fields to the desired order.
Once all fields are in the proper order, either select the New Field button, the Add Field tab or click the Save Form button if you do not intend to make further changes.
Editing a Field
To adjust the Field Settings for a particular field, select the appropriate field in the New Form Area. The Field Settings for the selected Field will automatically display and you can begin modifying.
Once all Field Settings for a particular field have been updated, either select the New Field button, the Add Field tab or click the Save Form button if you do not intend to make further changes.
Deleting a Field
Locate the field you wish to delete and click the x to the right. This will completely remove the field from the form.
Once all of the desired fields have been deleted, either select the New Field button, the Add Field tab or click the Save Form button if you do not intend to make further changes.
New Blank Form
A New Blank Form gives you a blank form template that has no pre-added Fields or Settings.
Starting a New Blank Form is generally recommended for all forms that are not Contact Form related.
New Contact Form
A New Contact Form provides you with basic Fields and Settings applicable to most Contact Forms.
The Contact Form Template includes:
- A “Contact Us” Form Name
- A short description about the Form
- A confirmation description once the Form has been submitted
- Name, E-mail and Comment Fields
All Fields and Settings can be changed and New Fields can be added. This is simply what the New Contact Form Template includes before any modifications are made.
Form Menu
Once you’ve reached the Form Detail page, you’ll see a menu on the left where you can make changes in the following tabs:
The fields added to the Form will display to the right of the menu. Changes made in Field Settings will actively appear as the changes are being made.
Add Field
The Add Field tab is grouped into Standard Fields and Custom Fields.
Standard Fields
Standard Fields include all Form Field types and do not have a template associated with any Field.
- Single Line Text
- Drop Down
- Radio Buttons
- File Upload
- Paragraph Text
- Checkboxes
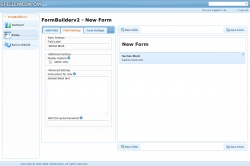
- Section Block
Custom Fields
Custom Fields are commonly used Fields that most forms include. These Fields can still be modified but are included to speed up the Form Building process.
- Name
- URL
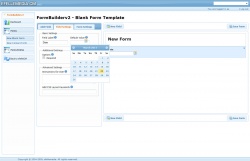
- Date
Field Settings
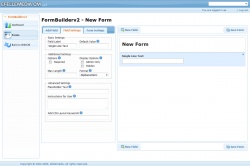
To update Field Settings, select the Field displaying in the right hand box and the appropriate Field Settings will automatically appear in the left hand menu. Using the Field Settings menu, you can customize:
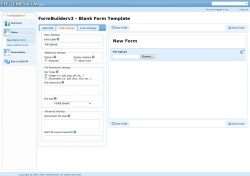
Basic Settings
- Field Label - Add a field label to best inform your user as to what data should be entered in this particular field. This value will also be used when recording the form entry for later viewing.
- Default Value - Add a default value to be submitted with the form. This is useful when creating hidden fields. Completing this field is optional.
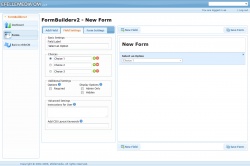
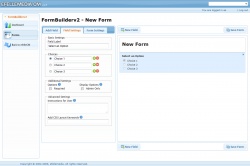
Choices
- Applicable to Drop Down
- Checkboxes
- Radio Buttons
Additional Settings
- Options - By checking Required, a red asterisk will appear next to the selected field and the form cannot be submitted until this field is filled out.
- Display Options - If Admin Only or Hidden is checked, the selected field will not be shown on the form.
- Admin Only - Editable only from the CMS
- Hidden - Will submit with the form but not visible
- Max Length - Character length restrictions
- Set the Character limit. Once the limit is set, no other characters can be entered into the selected field.
- If this field is left blank, there is no character limit. (For more than 255 characters, use the Paragraph Text field type.)
- Format - Character entry restrictions
- Any character = no restrictions
- Alphanumeric = letters, numbers, spaces or underscores only
- Letters only = letters only
- Numbers only = positive or negative non-decimal numbers
Advanced Settings
- Placeholder Text – Text that is shown in the form field that will disappear once the field is in focus. This value will not be submitted with the form.
- Instructions for User – Add a hint for this form field. Any text added will show next to the field on the form.
- Add CSS Layout Keywords – Specify a class name for this form field. (This is for us to position the form field correctly on the page.)
When Field Settings are complete for the selected Field, select the Add Field Tab or either of the New Field buttons on the top and bottom of the Form.
Once all Fields in the New Blank Form are complete, select Save Form.
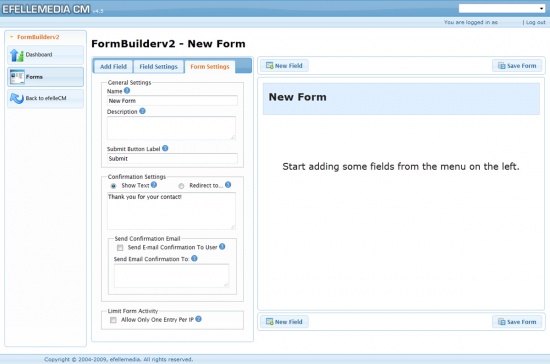
Form Settings
Form Settings allow you to change the appearance and content of your form. These settings do not impact the text fields and consist of:
General Settings
- Name - Give a description name of the form so users know what the purpose of your form is. The form name will also be used to create the unique link to the form.
- Description - Give your users a short description of information the user should know before filling out the form.
- Submit Button Label - Change the name of the form submission button. This is the button the user will click on to submit the form. The default button is Submit.
- Form Status - Quickly disable the form by setting the Form Status to disabled. By doing this, the form will not be accessible on your website.
Confirmation Settings
- Show Text - After the form has been successfully submitted, the user will be redirected to the Thank You page displaying the text below.
- Redirect to... - After the form has been successfully submitted, redirect the user to another webpage or website.
- Send E-mail Confirmation to User - Send e-mail confirmation to user after the form has been submitted. *This form will require an e-mail field for this to successfully work.
- Send E-mail Confirmation to - Comma separate e-mail addresses to receive a confirmation e-mail when the form is submitted. (This is where you would put your email address so you will receive form submissions in your email. Go ahead and submit the form to test that the confirmation email is working.)
Limit Form Activity
- One Entry Per IP - Limit the number of times a user can fill out the form. However, it is possible for a user to fill out the form again on a different computer.
- Disable Form After - Limit the number of times a form can be submitted. Once this number is reached, the form will become disabled. Leave this field blank for unlimited submissions.
Advanced Settings
- Add CSS Layout Keywords - Specify a class name for this form. *This is for us to position the form correctly on the webpage.
Once all Form Settings are complete, select Save Form.
Form Entries
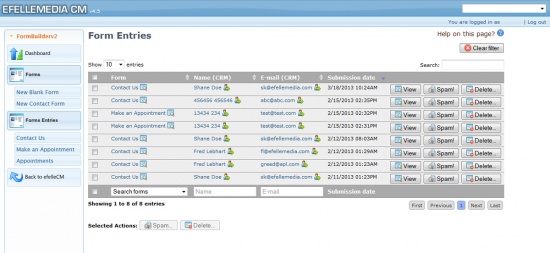
Organized by Form completed, Name, E-mail, Submission Date and Time- The default order for Form Entries is by most recent Submission Date.
- You can also organize the Form Entries alphabetically by selecting the up and down arrows next to each column title.
Selecting in the Form completed column will take you to all of the Form Entries for that particular form.
Selecting in the Name or E-mail column will take you to that particular user’s Account Details page in the CRM module.
Viewing a Form Entry
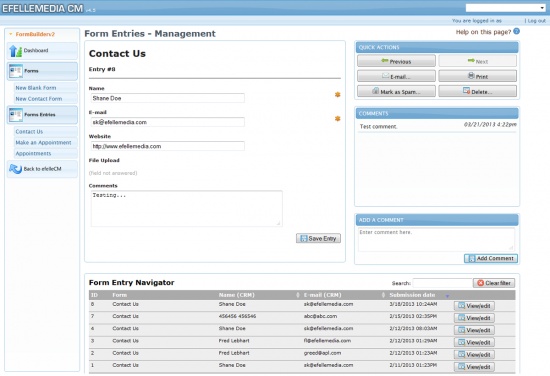
To View a Form Entry, locate the desired entry you wish to view and select the View button. This will take you to the Form Entry Management page where you can:
- Review information filled out in the form
- Select Quick Actions
- Navigate to Previous or Next Form Entries
- Send a confirmation e-mail of the Form Entry
- Print the Form Entry
- Mark the Form Entry as Spam
- Delete the Form Entry
- Review previous Comments about this specific Form Entry
- Add a Comment about this specific Form Entry
- Review additional Form Entries submitted through this particular Form
- To navigate these Form Entries, go to Navigation.
- To navigate these Form Entries, go to Navigation.
Deleting Form Entries
To delete a single Form Entry, locate the desired entry you wish to delete and select the Delete button.
To delete multiple Form Entries at once, check each entry you wish to delete and select the Delete button under Selected Actions.
Repeat these steps to mark a single Form Entry or multiple Form Entries as Spam.
Filter forms
Search by Form name, Name or E-mail. There is also a general Search at the top right of the Form Entries page.
Navigation
Navigate by selecting number of entries to display in the top left of the Form Entries or navigate by selecting either the page number, Previous/Next or First/Last buttons in the bottom right.
Form Integration
SalesForce (Web-To-Leads)
Setting up Web-To-Leads on your form will allow you to record leads from form submissions and send them directly to SalesForce.
Setup
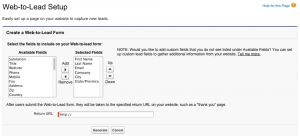
- Log into SalesForce
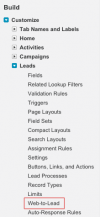
- Navigate to Setup -> Customize -> Leads -> Web-To-Lead
- Make sure Web-To-Lead is enabled.
- You can optionally Edit the Default Lead Creator, but this isn't necessary.
- Click Create Web-To-Lead Form
- Make sure you have added all the necessary fields to map to the specific form you want to integrate with on the CMS (ordering the fields isn't necessary, just make sure they are within the Selected Fields box).
- Fill in the Return URL (as it is required, but not used) with your site's domain.
- Click Generate to create the HTML for the form.
- Copy & paste this HTML into a text editor for the next section.
Integration
- From the Form Integration Overview page, click Quick Add... to add an Integration.
- Select the form you want to integrate with and click Save
- On the next page, you will want to create a mapping to your Web-To-Leads form (using the generated HTML code you received from SalesForce) or you can use the Quick Configure option and let our system try to map the fields.
- You can also enter a single e-mail address to receive lead notifications.

